You can’t put a price on protecting the bed of your truck. When it comes to protection, over 4 million people have turned to Rhino Liner to get the job done.
Nonetheless, there comes a time (for some truck owners) in which the Rhino Liner is no longer wanted. Unfortunately, getting rid of your Rhino Liner won’t be as easy as getting it installed.
Best Tools to Remove Rhino Bed Liner
The removal process can be arduous, potentially involving several steps before your truck bed is finally back to its original state. While it may just take one method to rid yourself of the truck bed liner, it might not be so easy. In fact, it might potentially involve some combination of 2 or 3 methods.
Tools Used to Remove Rhino Bed Liner
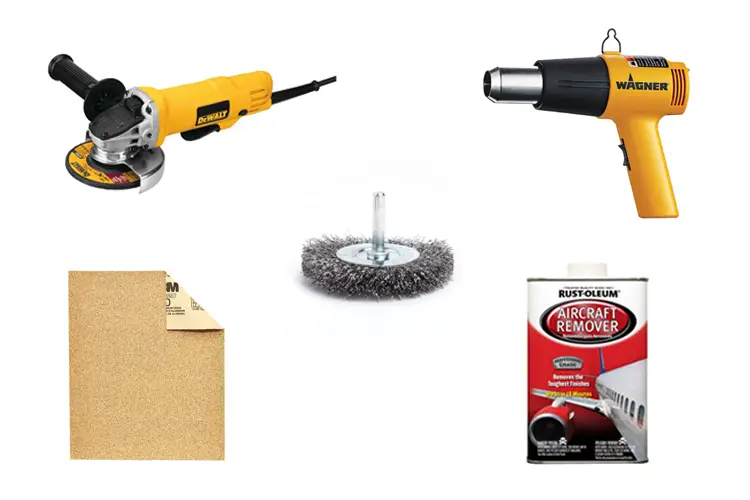
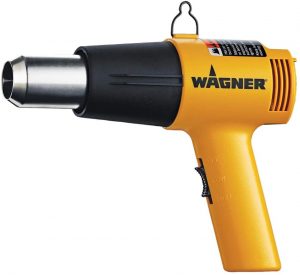
Hot Air Gun and Stripper
For most laymen, this hot air gun may be something as simple as a blow dryer at full power. By using the heating mechanism, you’ll be able to slowly degrade the material and make it soft enough to chisel off. Otherwise, using a sharp stripper to take the material off would be next to impossible due to its tough exterior.
When heated, pieces of the bed liner will break off much easier. Just be careful how you wield your chisel. If you are too enthusiastic, you may potentially do some damage to the bed of your truck – which was the whole purpose of having the Rhino Liner installed in the first place.
Make sure you tilt it at a safe angle to only strip the Rhino linings off. A putty knife may also do the trick if the blower is strong enough.
Buy Hot Air Gun and Stripper on Amazon
Grinder or Sandpaper
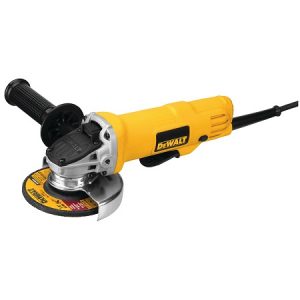
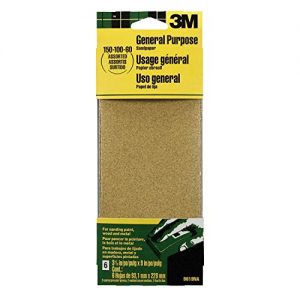
Using a grinder will make the removal process much easier, as it seamlessly strips the material away over time. However, this can be quite time consuming as the pieces will not be coming off in big chunks. Rather, they will slowly be ground away as you struggle to reach all the nooks and crannies of your truck bed.
Using a grinder or sandpaper alternative will help make the process easier, but you will still need a chisel of some sort to get the last traces of Rhino Liner off. After you’ve done your sanding in short bursts, use a coarse pad to sweep the scraps away so you can keep wearing it down.
Then, repeat the process accordingly while slowly chipping the weakened pieces away with a scraper as you move from one region of the truck bed to the next. While you may have to dedicate an entire afternoon (or two) to this process, it is an extremely safe option. There is little room for injury, especially compared to the next method.
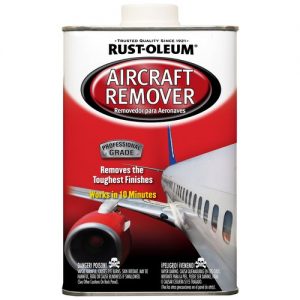
Corrosive Chemicals
Using chemicals is quite common in the professional removal of truck bed liners. However, they are also the most dangerous method by far. In the same way that they easily burn through these heavy-duty truck liners, they can burn through your safety materials if you aren’t careful.
These types of chemicals can include products like “Aircraft Remover†(or “Aircraft Stripper”), which is a popular option. When using the chemical stripper, simply put a very small amount on one area at a time. Let it sink in and work its magic before carefully removing the pieces.
As your truck’s bed is made of a tough metal or steel frame, it shouldn’t have many negative effects on the structural integrity of the vehicle.
You need to stock up on chemical-proof safety gear before you even consider using these products. This means using specialized protective clothing, gloves, and goggles to avoid any accidental exposure.
You should be able to find most of these materials at your local hardware store, and it’s not a bad idea to spend a few extra dollars to get the name brand options.
Good luck with this DIY science project, as it’s not something to be taken lightly. The last thing you want is to have to visit the emergency room as a result of a mindless mistake or, at the very least, have to repaint your truck’s exterior.
On the plus side, it won’t cost much. These chemical strippers are sold in most auto body shops or online retailers.
Buy Aircraft Remover on Amazon
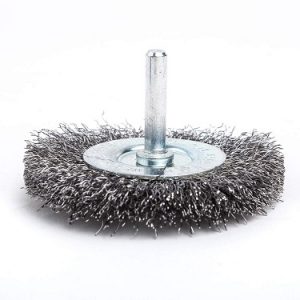
Wire Wheel
Lastly, the wire wheel should do the trick if you get a reliable brand. While it doesn’t carry as much brute strength and effectiveness as, say, an angle grinder, it is a decent alternative if you want to keep safety as a priority.
Make sure you set aside a good chunk of time, though, as this option can be quite tedious.
Important Factors to Keep in Mind During Removal
Chances are, you have a lot of money invested in your truck. For some of you, you may even think of it as your baby. That’s why it’s important to buckle down and consider all the precautions that need to go into the removal process.
If you start acting on impulse without doing your research, your truck and ego may not be the only things that end up getting damaged.
For chemicals, you must make sure that you have gear covering all the important areas of your body. This includes your hands, eyes, and feet. It’s important that you also use a type of respirator mask that filters out toxic fumes.
Additionally, be sure to check online forums from trusted sources to see how others have addressed this issue in the past. Learn from their mistakes and put all the necessary safeguards in place to prevent your own mistakes from occurring.
Before you even get started, make sure that you’re working in a place that can be easily cleaned both during and after the removal process. If you’re washing toxic chemicals into your garage or grinding metal shavings into your yard, you may soon have a whole different set of problems on your hands.
Breaking it Down Step-By-Step
1: Closely Examine the Truck Bed
Ideally, you should make yourself aware of any potential setbacks that might occur during the Rhino removal process.
It’s important to take your time and do a scan with both your eyes and hands to check for any physical issues with the area of the truck bed you will be working on. These problems may include fissures, rust, and cracks in the liner.
If you discover any compromises in the truck bed lining, this will only work to your advantage. Cracks give you a weak point to start working on, sort of a “thread starter” to help you break down the structural integrity of larger areas of the liner. The material is much stronger when it is a unified whole. The more you start wearing on it, the easier the job will get.
2: Preparing the Vehicle for the Removal
Now is the time to designate your working space and make sure all your materials are in check. If you’re using stripping chemicals, you need to double and triple check your breathing apparatus and protective gear to make sure they function properly (and don’t have any holes).
The more preparations you make, the less risk you are taking.
3: Applying Chemicals
Assuming you’ve chosen to go the chemical route, this is when you will apply the “Aircraft Remover†(aka, “Aircraft Stripper”) or a similar product to the applicable areas. You can choose to do it a little bit at a time, or you can choose to spray it over the entire area in a thin layer.
After it is applied you will wait half an hour or 45 minutes for it to fully settle in. Then you will be ready to truly begin the removal process with your chisel of choice.
4: Begin Chiseling
Now that the Rhino liner is ready for removal and loosened up, you can start scraping it. You will want to start near the front of the bed near the truck and work your way back, in the same way you would mop a room.
Make sure you cover all areas before moving on, and keep in mind that the entire process will be very time-consuming. It takes a lot of elbow grease to finally rid yourself of this tough material, as it is intended to stay put by its very nature.
5: Clean the Area Off
You don’t want these types of chemicals hanging around the interior or exterior of your truck, especially if you use your truck bed to haul any sort of animal feed or items that may end up in your house. This can be done by simply spraying the area off with a hose.
Make sure not to rush this step, as the chemicals can damage the lining of your truck and cause discoloration if left on for too long.
