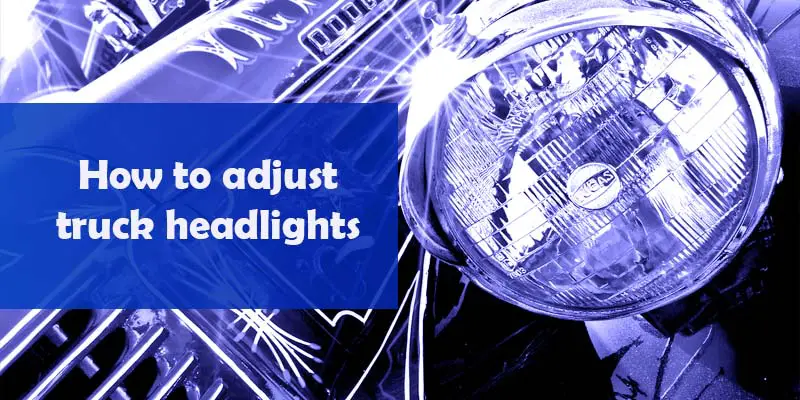
Adjusting the headlights on a truck can vary depending on the make and model of the truck, but in general, the process is similar. Here are some general steps on how to adjust headlights on a truck:
- Locate the adjustment screws: The adjustment screws are typically located on the back of the headlight assembly, behind the headlight lens.
- Park the truck: Park your truck on a level surface and set the headlights to the low beam setting.
- Place a piece of masking tape on the wall: Park your truck about 25 feet away from a blank wall or garage door. Place a piece of masking tape on the wall where the center of the headlight beam hits the wall.
- Adjust the headlights: With the headlights turned on, use a Phillips head screwdriver to turn the adjustment screws. Adjust the headlights to the correct height, which is usually level with the center of the headlight beams.
- Test the adjustment: After adjusting the headlights, get back into your truck and test the adjustment by turning on the headlights and checking the beams on the wall or garage door. If the beams are too high or too low, adjust the headlights again.
- Repeat the process on the other side: Repeat the process on the other headlight to ensure they are both adjusted correctly.
It’s important to check your truck’s owner manual for specific instructions or guidance on adjusting headlights, as some trucks may have different methods.
How high should your headlights be aimed?
The proper height for headlight aim varies depending on the make and model of your truck, as well as the specific headlights being used. In general, headlights should be aimed so that the low beam pattern is level with the center of the headlight beams and the beams are aimed slightly downward. This will help to ensure that the light is directed towards the road, and not into the eyes of oncoming drivers.
The recommended height for the headlights of your specific make and model can be found in your vehicle’s owner manual. Also, some vehicles have a small adjustment screw located near the headlight assembly which you can use to adjust the headlight’s height.
It’s important to note that headlight aim can change over time due to factors such as vehicle wear and tear, and road conditions. It’s recommended to check and adjust the headlight aim regularly, especially if you notice that the light is not illuminating the road as well as it should.
What is the proper distance to adjust headlights?
The proper distance to adjust headlights can vary depending on the make and model of your truck, as well as the specific headlights being used. In general, the recommended distance for adjusting headlights is 25 feet from a blank wall or garage door. This distance is used as a standard for most vehicles, as it allows for a clear and accurate measurement of the headlight beam pattern.
When adjusting the headlights, it’s important to make sure that the vehicle is parked on a level surface and that the headlights are aimed at the center of the wall or garage door. Using a Phillips head screwdriver to adjust the screws while aiming the beam pattern to the center of the headlight beams.
It’s important to note that the proper distance and method to adjust headlights may be different depending on the make and model of your truck, and it’s best to check the owner’s manual for specific instructions or guidance. Additionally, it’s recommended to check and adjust the headlight aim regularly, especially if you notice that the light is not illuminating the road as well as it should.